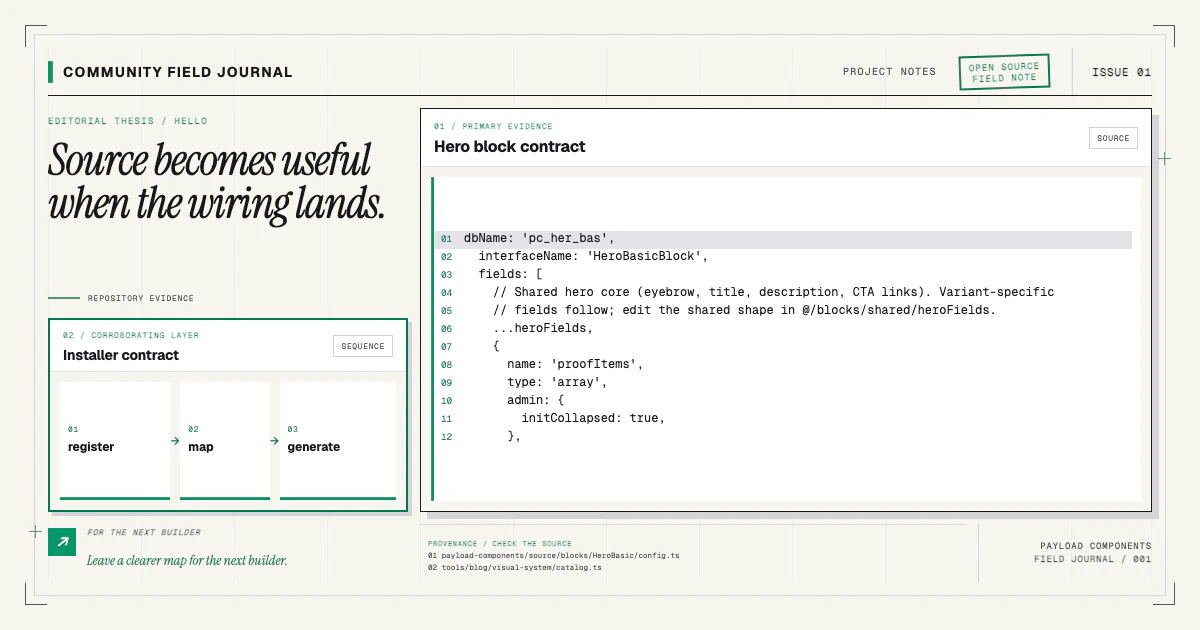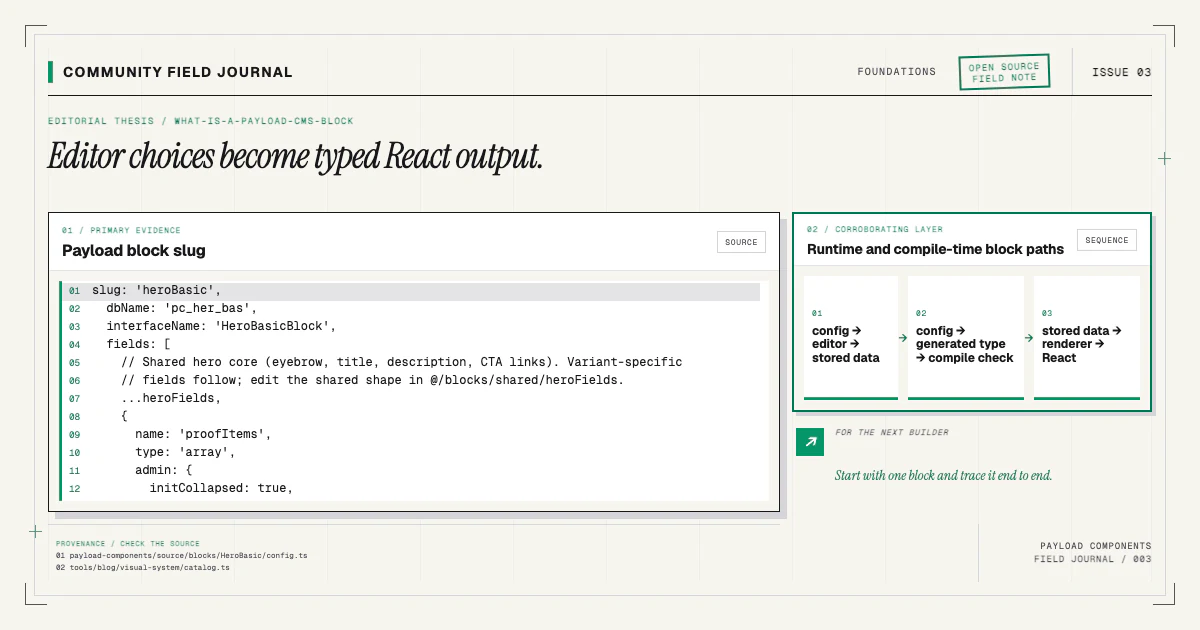
A Payload block can exist in your repo and still fail to appear in the editor or render on the page. The source file is only one part of the install. The collection registration, frontend renderer mapping, generated types, and admin import map have to agree too.
If you've copied a block and it is not showing, start with the symptom below. If you are installing a new block, the installation guide covers the supported project shape and the command that handles all four wiring steps for you.
Find the missing wire
| Symptom | What to check | Fix |
|---|---|---|
| The block is missing from the Pages editor | The block is not registered in the Pages collection layout field | Add the block config to the blocks array for that field. |
| The editor saves the block, but the page renders nothing | RenderBlocks.tsx has no mapping for the block slug | Import the frontend component and add it to the render map. |
| TypeScript reports stale or missing block fields | src/payload-types.ts was generated before the block was registered | Run pnpm payload generate:types. |
| The admin UI cannot load the block, or reports an import-map error | The generated admin import map is stale | Run pnpm payload generate:importmap. Do not edit the generated map by hand. |
Payload's own docs cover the underlying block configuration and custom component paths. Payload Components automates the project-specific edits for its supported Payload v3 and Next.js website layout, then leaves the result in your git diff so you can review it.
Already installed with Payload Components? Run npx payload-components doctor before editing.
It checks the supported project shape, required scripts, registered fragments, dependencies, and
recorded install state without changing your files.
The pipeline
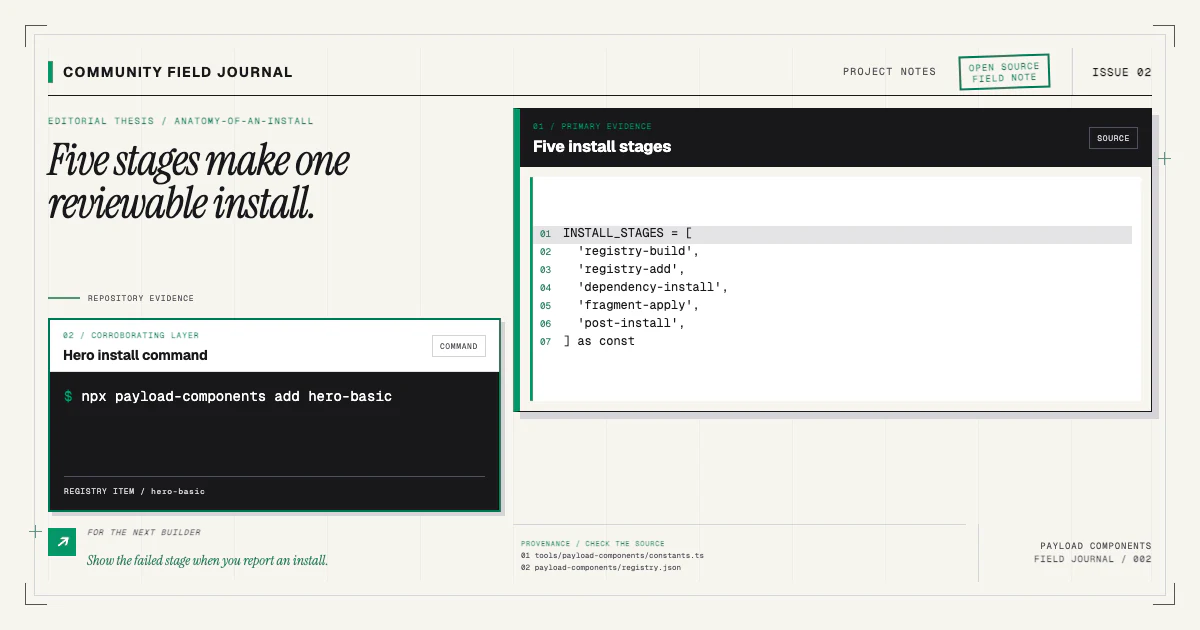
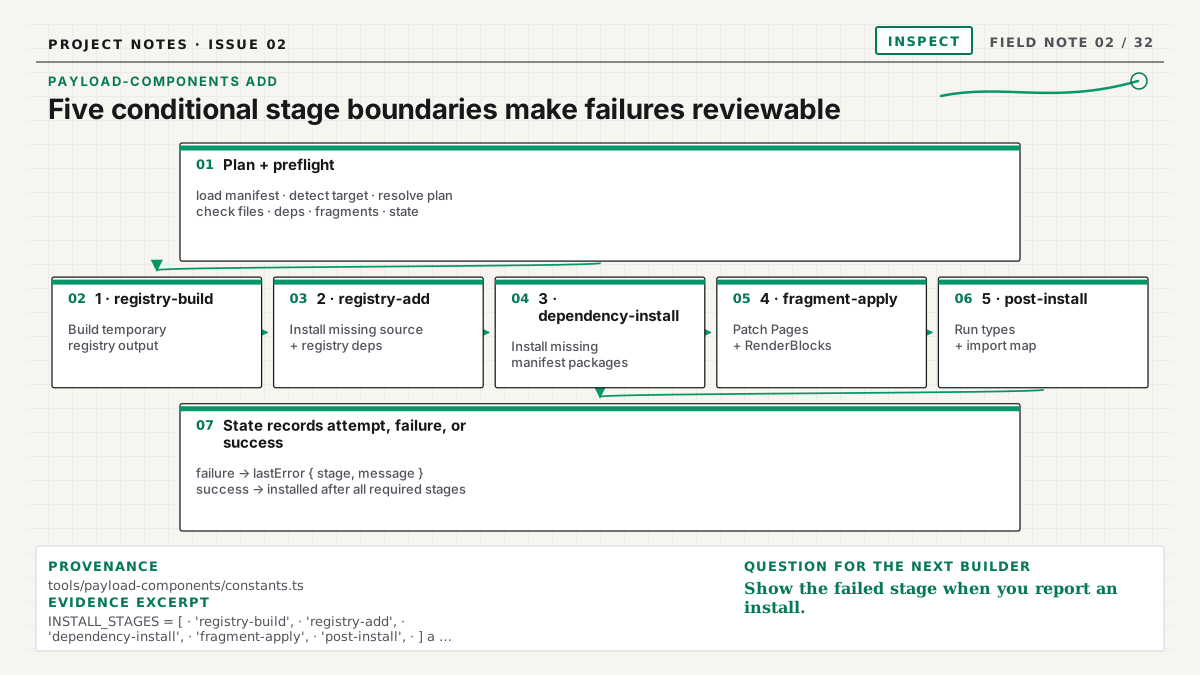
After manifest loading, project detection, install-plan resolution, and preflight, add has five
named stage boundaries. File, dependency, and fragment stages are conditional on observed missing
work. A fully valid installation, including work found on disk but not yet recorded, can return early
before a staged attempt. Once a staged attempt proceeds, declared post-install scripts run before
installed state is recorded.
registry-build — build a temporary shadcn registry output when owned source is missing.
registry-add — install missing owned source or public registry dependencies, then verify
the declared files exist.
dependency-install — pull in any packages the block needs so it actually compiles.
fragment-apply — patch your Pages collection and your render map so the block is
registered and painted.
post-install — run the declared type and import-map generators.
Before the first stage runs, state records a partial attempt. A failed stage stores its exact name and message; installed state is written only after every required stage and post-install script succeeds.
The trick I like: patching by text, not by AST
fragment-apply is my favourite stage, because of how it edits your files. It would be easy to
parse your code into a syntax tree and rewrite it, but that tends to reformat everything around
the change and leave you with a noisy diff. So instead it works against text anchors: stable
little strings it expects to find in a Payload v3 + Next.js project.
It looks for things like const blockComponents = { in your render map and name: 'layout' in
your Pages config, then slips the import and the registration in right where they belong. Every
insertion runs through a dedup check, so if you re-run add on a block you already have, nothing
happens twice. The payoff is a small, legible diff. You can read precisely what changed instead
of squinting at a reformatted file.
Why it bothers to run both generators
A block can be copied, registered, and rendered and still not be live. generate:types
refreshes src/payload-types.ts so your fields are typed end to end, and generate:importmap
updates the admin importMap.js so the editor can actually render the block in the admin UI.
Skip either one and you get a half-wired block. It compiles but breaks in admin, or renders
but is untyped. That gap is exactly the thing I kept tripping over by hand, so the CLI owns it.
What you're left with
When it finishes, you haven't taken on a framework or a runtime dependency you have to keep importing. You've got copied source plus two scoped patches, one to your collection and one to your render map, sitting in your git diff. No vendored framework, no lock-in. Don't like a line? Change it. It's your code now.
Read it before you trust it
That's the whole philosophy, really: all of this is MIT and lives in one repo, so you can read the installer before you ever run it. I built it so the second project, and the tenth, get this wiring for free, but I never want it to feel like magic you can't inspect.
Give it a spin on a throwaway branch and watch the diff:
npx payload-components add hero-basic
Then run the read-only doctor check and inspect the diff before you commit. If something feels off, tell me. That feedback is how the catalog gets better.
— Ducksss