Use your first Payload CMS v3 block
Install a typed Payload CMS v3 block, add it in the admin, publish the page, and verify the first-block workflow from editor to frontend.
Install Feature Grid Basic, then follow its full editor journey from the Payload CMS v3 admin to a live page. Every block follows the same path.
Install the example block
Run the supported installer from your Payload project root. It copies the typed block source and completes the Pages layout, renderer, generated types, and admin import-map wiring before you open the editor.
npx payload-components add feature-grid-basic
Why the block is already there
add didn't just copy files. It registered the block in your Pages layout
field and mapped it in RenderBlocks, then regenerated types and the admin
import map. So the block shows up in the admin block picker with no extra
wiring — that's the whole point of the wrapper CLI.
Prefer a prefilled draft?
Run npx payload-components seed feature-grid-basic, followed by
pnpm exec payload run payload-components/seed-feature-grid-basic.ts. The
command requires Pages drafts, and the generated Page stays in draft until
you review and publish it. See
Optional draft demo for the exact
ownership and rerun safety contract.
Open a page in the admin. Start your project (pnpm dev) and go to /admin.
Open an existing Page or create a new one — blocks live on the page's layout field.
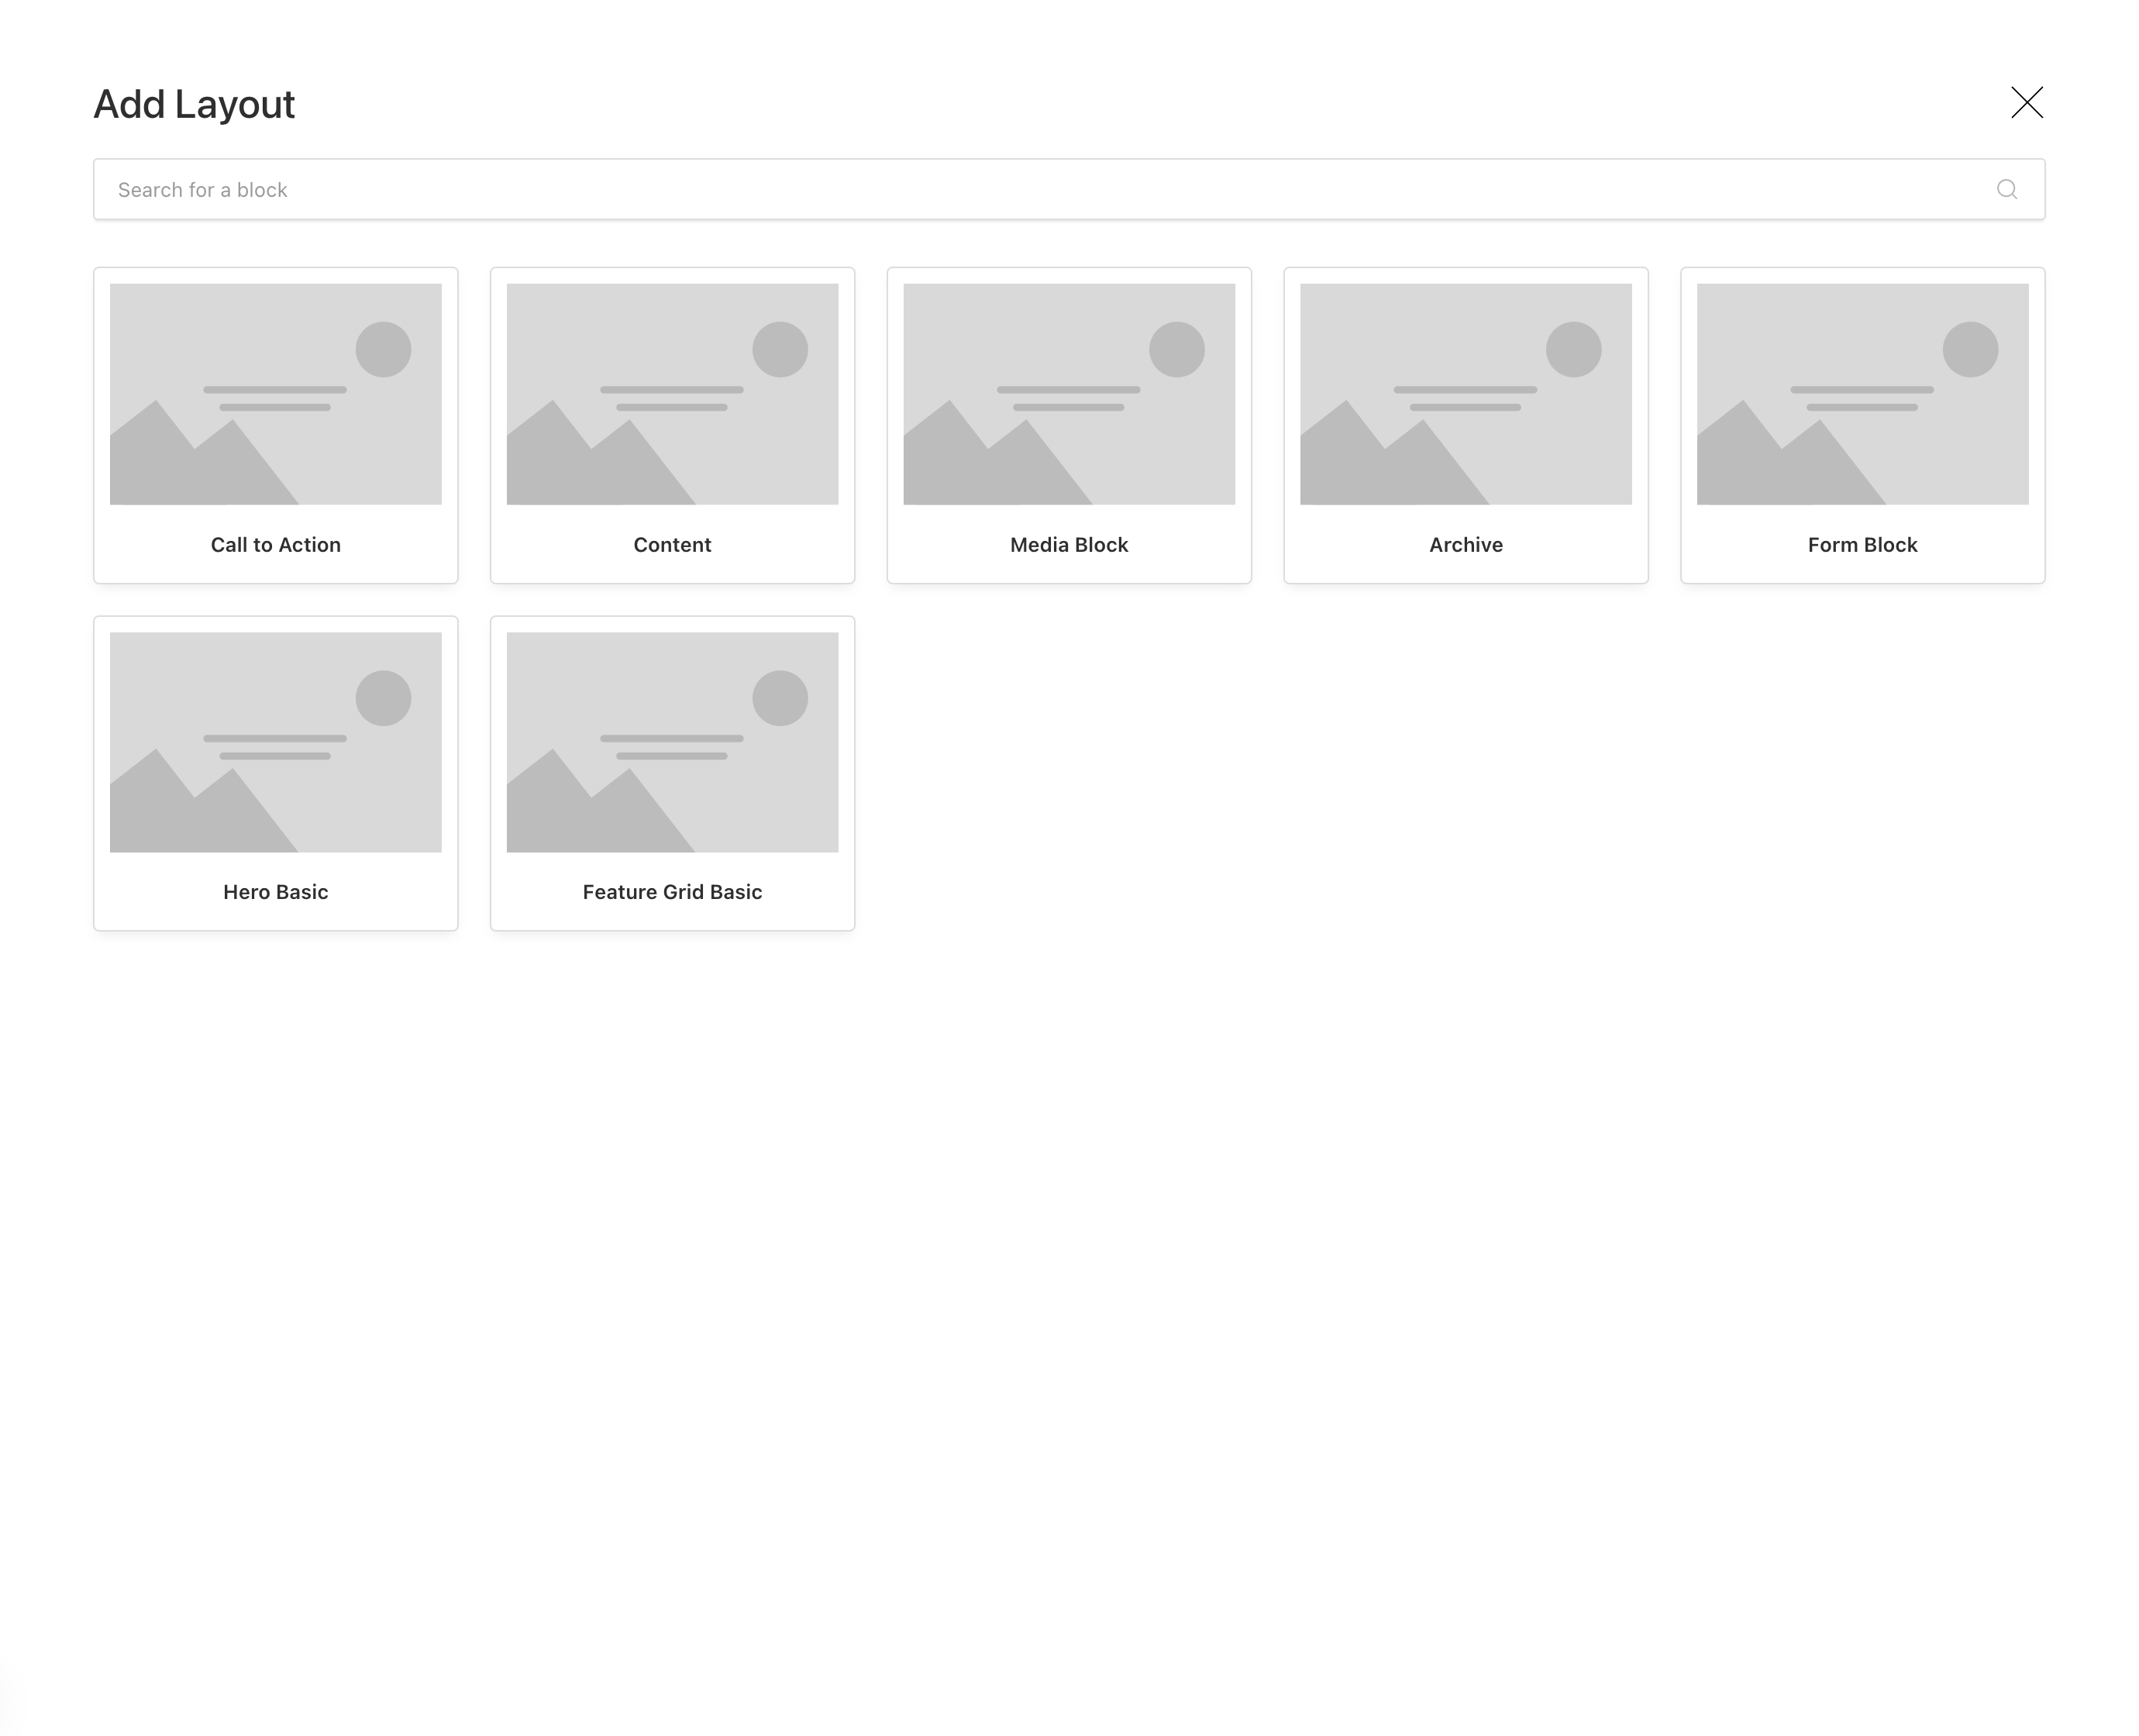
Add the block — it's already in the picker. In the layout field, click Add Block.
Feature Grid Basic is listed alongside the starter blocks, because add registered it for you.
Fill the content. Select the block and complete its fields — eyebrow, title, description, and a few items. They come straight from the content model; required fields are marked.
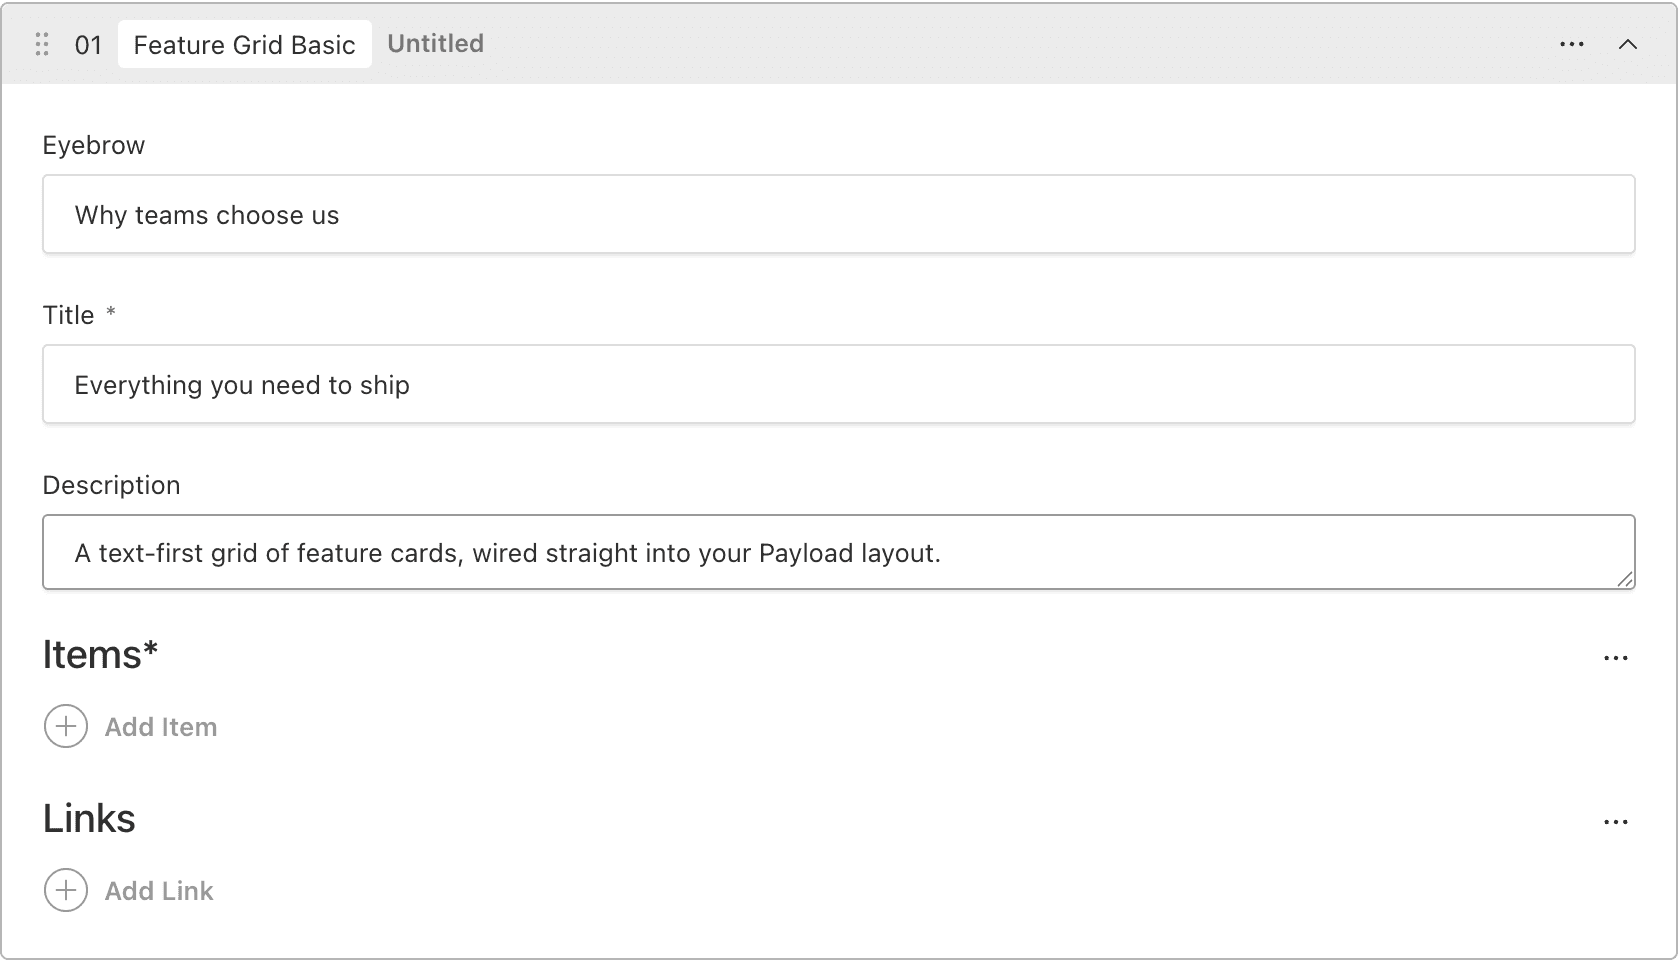
Publish. Save and publish the page. There's nothing else to wire — the block is fully typed and registered.
See it live. The page renders the block through RenderBlocks on the frontend.
Here's the component you just configured: