Visual install walkthrough
Browse the catalog, install two wired Payload blocks, review the resulting files, and verify the installation with doctor.
Follow one installation from the public catalog to a reviewable change in your Payload project. The screenshots show the local documentation site. The command verification below uses the supported installer fixture; it does not claim to run a live Payload database or send a form submission.
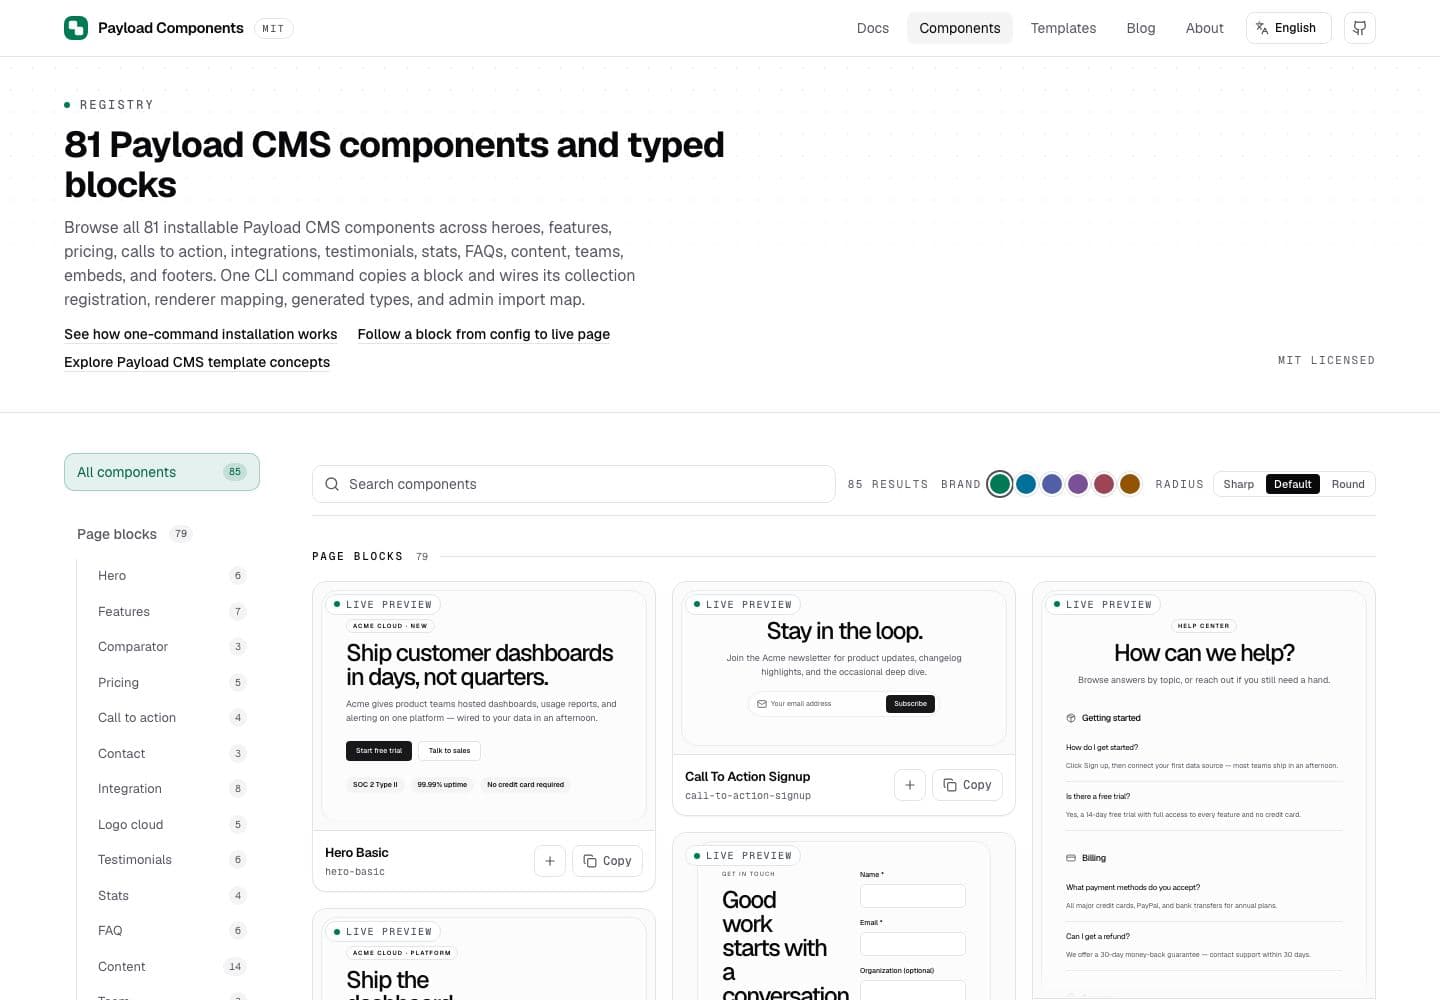
1. Browse the catalog
Open the component catalog and choose a family. Each card links to a preview, content model, requirements, and an exact install command. For this walkthrough, use Hero Basic and Feature Grid Basic.
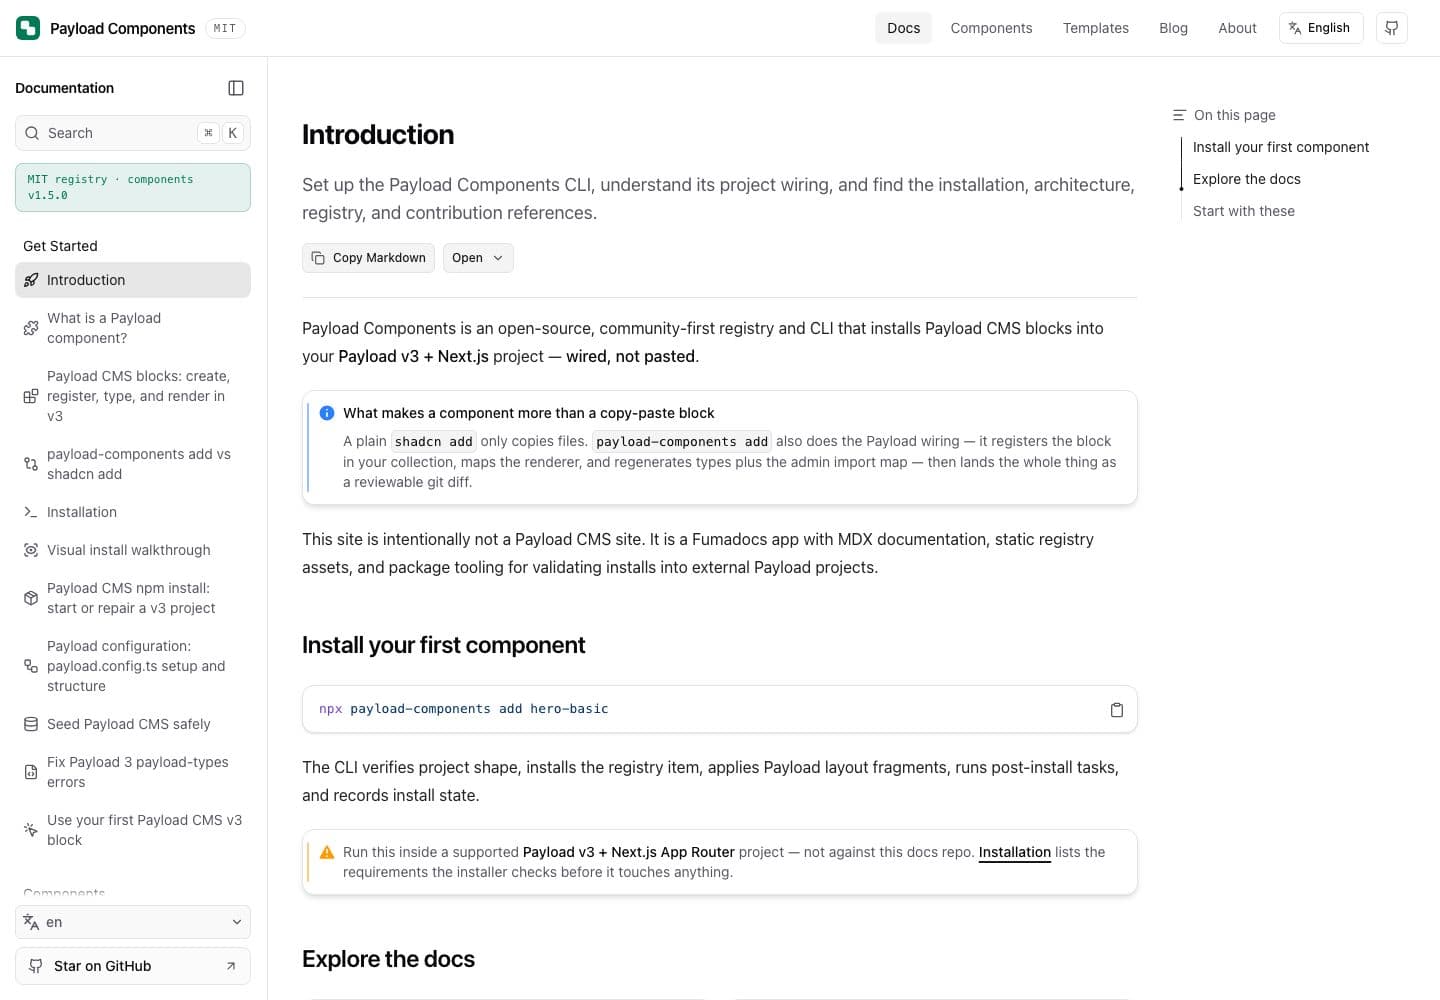
2. Check the project requirements
The docs home links to the installation guide and component reference. Read the installation requirements before running the wrapper. You need a supported Payload v3 (or experimental v4) and Next.js project with the Pages layout, renderer, and generation scripts the installer expects.
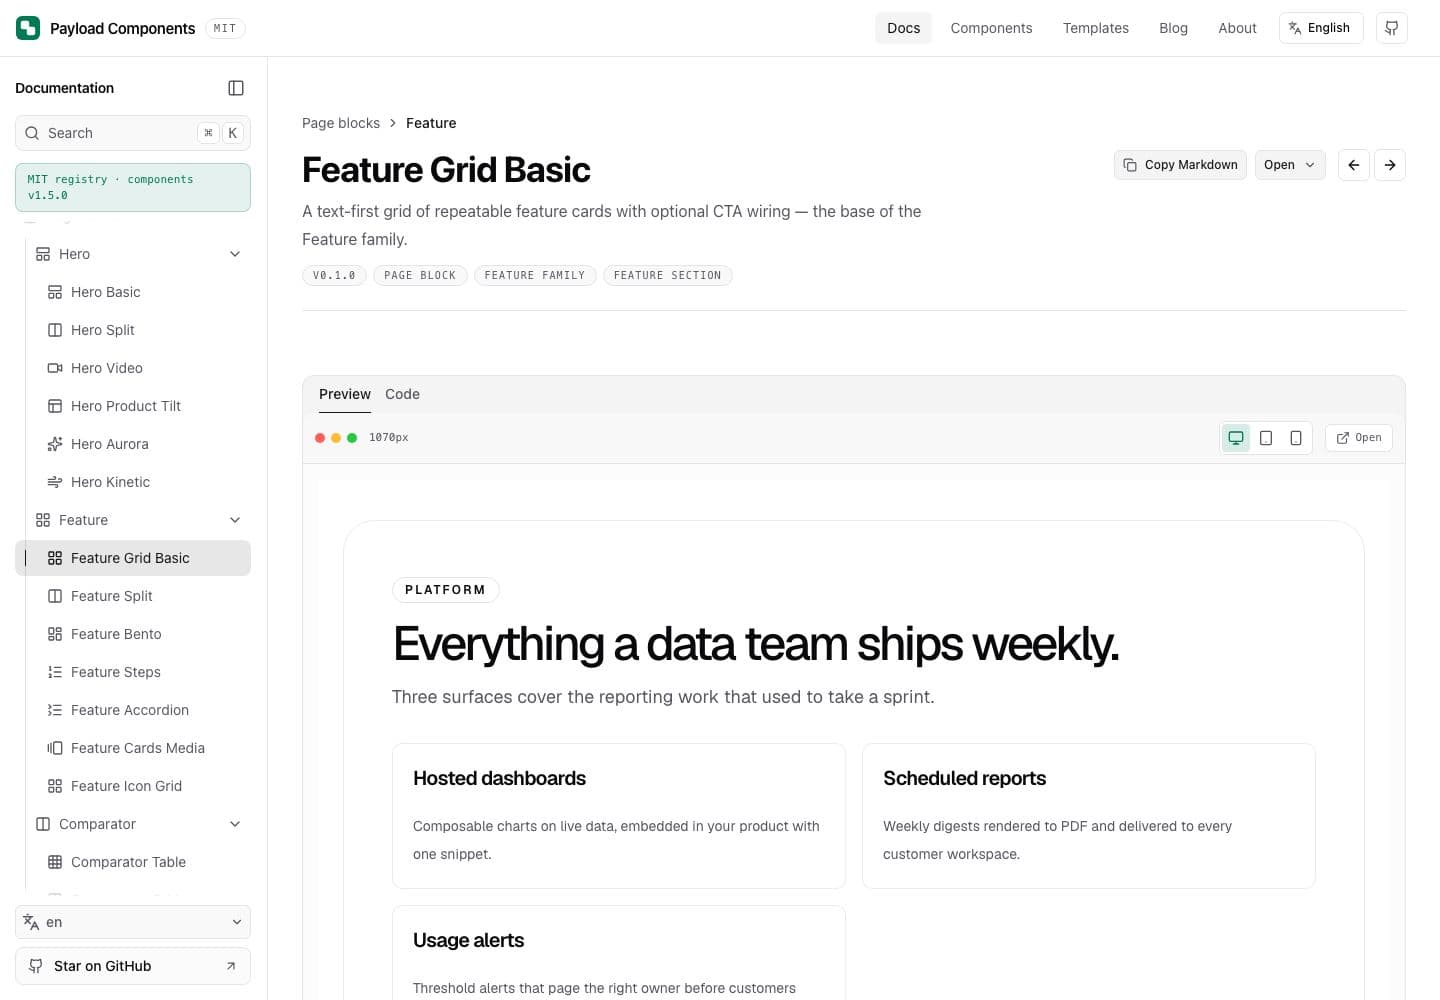
Open Feature Grid Basic. Its Preview and Code tabs show the design and the source files that will be copied. The content model explains which fields appear in the Payload admin.
3. Preview and install the blocks
Run these commands from the consumer project's root, with the current changes committed or otherwise recorded so the resulting diff is easy to inspect:
npx payload-components add hero-basic --dry-run
npx payload-components add hero-basic
npx payload-components add feature-grid-basic
The dry run validates the project and prints the proposed files, registrations, and generation commands. It does not write files or run the generators.
Each normal install copies the source and dependencies, registers the block in the Pages layout, maps its renderer, runs generate:types and generate:importmap, and records the installed version in .payload-components/state.json. Repeating the same add command avoids duplicate imports and registrations.
4. Review what changed
git status --short
git diff --stat
git diff -- src/collections/Pages/index.ts src/blocks/RenderBlocks.tsx
git diff shows tracked changes; git status also lists newly copied files. Open the new files under src/blocks/HeroBasic, src/blocks/FeatureGridBasic, and their shared modules. Inspect the generated Payload types and admin import map as well.
In the starter layout, expect HeroBasic and FeatureGridBasic in the Pages block options and heroBasic and featureGridBasic in the renderer map. Supported projects using alternate host paths receive the corresponding edits at those resolved paths. The component reference's What it installs section lists the exact current file contract.
5. Verify with doctor
npx payload-components doctor
npx payload-components doctor --json
doctor is read-only. It checks the supported project, required scripts, recorded source files, dependencies, and Payload registrations. Its exit code is 0 for a healthy report, 1 when a recorded installation needs attention, or 2 when the project itself cannot accept installs. Fix reported errors before publishing.
The following excerpt is from the supported installer fixture after adding both blocks. The fixture uses local source files and stub generation scripts; this verifies the CLI's file and wiring checks, not a live admin or database:
[ok] project: payload-website-starter (Payload 3, Next 16, pnpm)
[ok] wiring: src/blocks/RenderBlocks.tsx + src/collections/Pages/index.ts
[ok] scripts: generate:importmap
[ok] scripts: generate:types
[ok] localization: not configured
[ok] state: 2 recorded components
[ok] hero-basic: files
[ok] hero-basic: Payload fragments
[ok] feature-grid-basic: files
[ok] feature-grid-basic: Payload fragments
For a source comparison against your recorded install, run:
npx payload-components diffRead the reported paths before choosing an update: local edits may be intentional.
6. Add content in Payload
Start your consumer app, open a Page in the Payload admin, and add one of the installed blocks to its layout. Fill its fields, publish, and view the page on the consumer frontend.
The first-block guide includes real admin screenshots of the block picker and filled block fields. Those images document the editor workflow separately from the docs-site screenshots above. Your content and installed Payload version may look different.


Direct shadcn installation
For a file-copy workflow, the same registry item is available through shadcn:
pnpm dlx shadcn@latest add https://www.payload-components.xyz/r/hero-basic.jsonDirect shadcn installs copy the registered source files and public shadcn dependencies. They do not add Payload collection registrations, map the block in RenderBlocks, run the Payload generators, or create the wrapper's install-state record. Follow the component's What it installs reference to make those edits yourself, or use the wrapper commands above to perform them.
Because raw shadcn does not record a wrapper installation, a healthy doctor report alone does not prove that a manually copied component has been wired. Check the actual collection, renderer, generated types, and admin map. See shadcn versus Payload Components for the ownership of each step.
Use your first Payload CMS v3 block
Install a typed Payload CMS v3 block, add it in the admin, publish the page, and verify the first-block workflow from editor to frontend.
Hero Basic
A headline-led marketing hero — eyebrow, title, supporting copy, CTAs, and proof badges — installed as a wired Payload block.