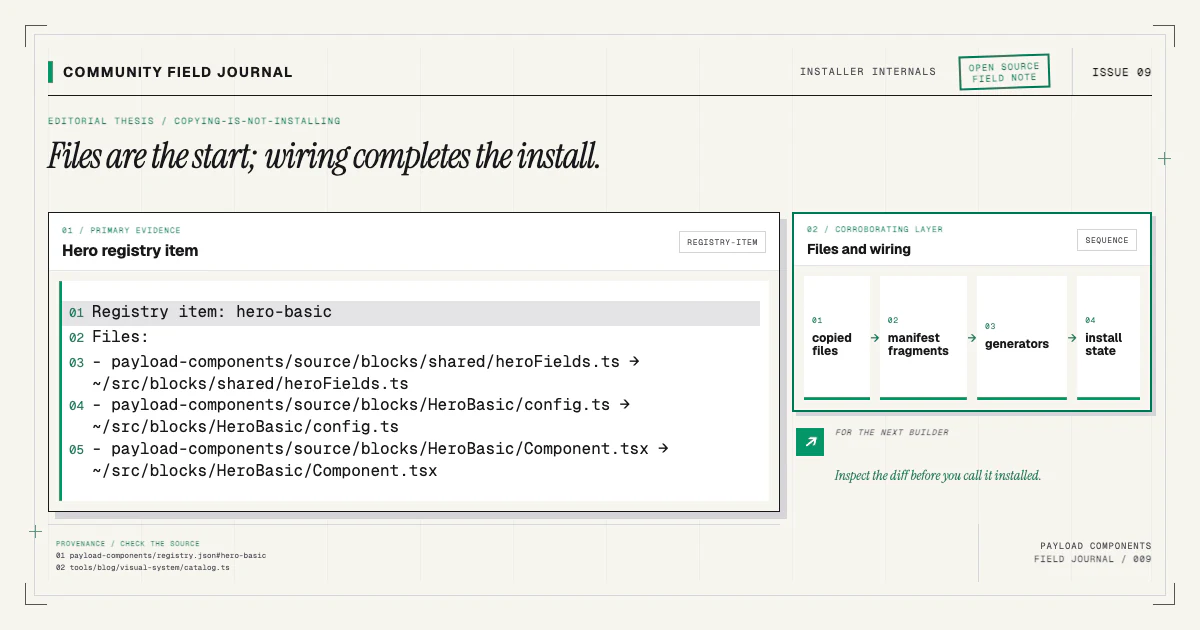
Copying source is valuable. You can read it, edit it, review it in git, and keep running the component without depending on a remote runtime. That is why Payload Components uses a shadcn-compatible registry for delivery. But file delivery and application installation are different promises.
For a Payload block, the copied files are inert until the host repository knows about them. The Pages collection must allow the block. The frontend renderer must map its discriminator. Generated types must reflect the schema. Admin component paths may require a fresh import map. Dependencies must exist. If any part is missing, “the files are there” does not mean “the feature works.”
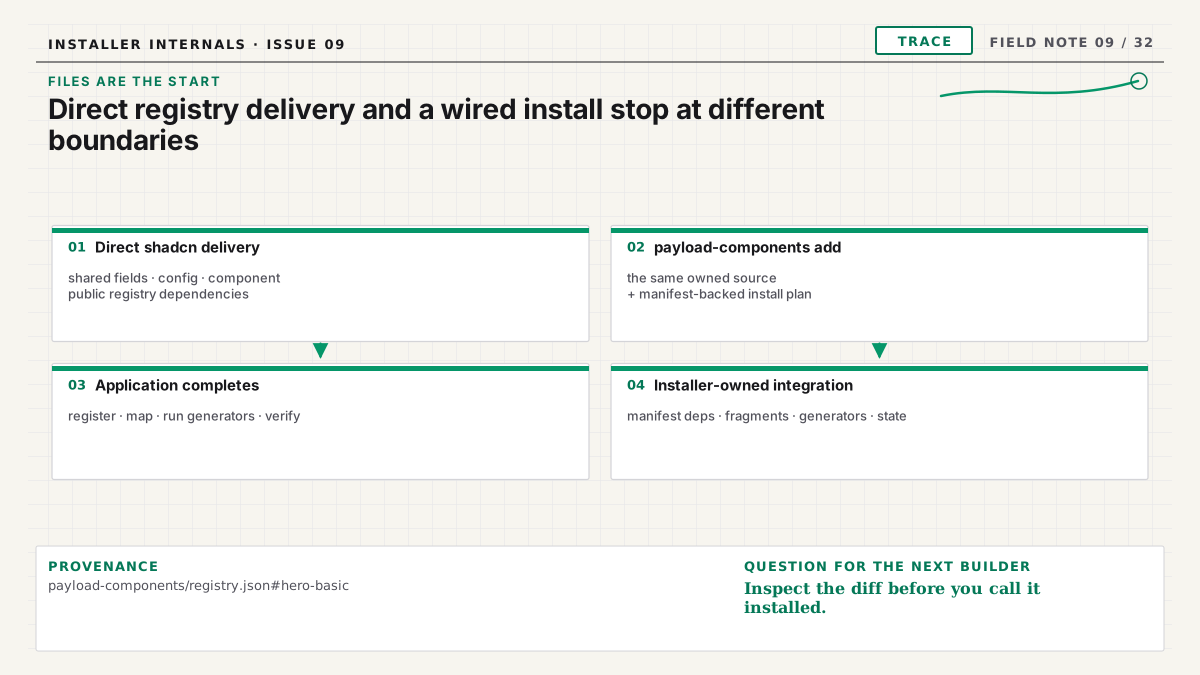
Copying answers the ownership question
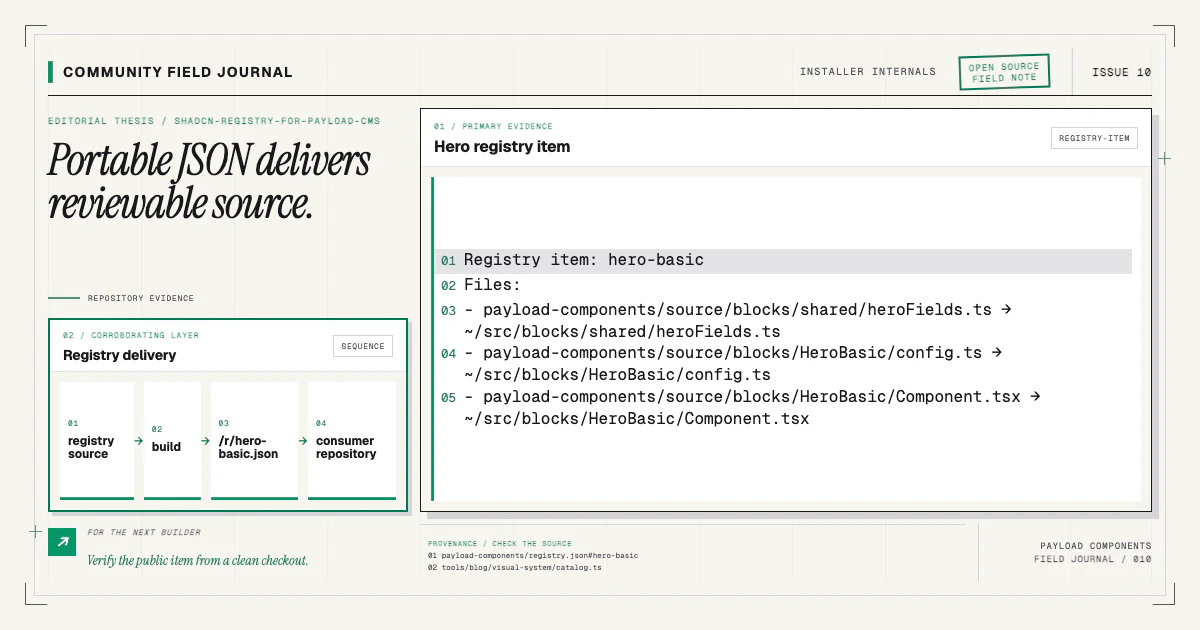
A registry item can deliver config.ts, Component.tsx, and shared source directly into a consumer
repository. The consumer owns those files. There is no opaque package rendering the page at runtime,
and no hidden update replaces local decisions. That is a strong foundation for an open component
ecosystem.
Direct source also makes adaptation normal. Change the spacing, remove a field, integrate a local link component, or apply your design tokens. The installed code should look like code a teammate wrote, not an artifact you are afraid to touch.
The registry documentation explains how source entries become public JSON and why
targets land under the consumer's src tree. The companion article on a
shadcn registry for Payload explains the delivery format.
Installation answers the integration question
An application feature has edges. A route needs registration, a plugin needs configuration, and a Payload block needs collection and renderer wiring. Those edges belong to the host repository, so a generic file copier cannot know them from the component file alone.
For the supported Payload website starter, preflight resolves the project, manifest, repository
evidence, and install plan before mutation. payload-components add then performs five idempotent
stages as needed:
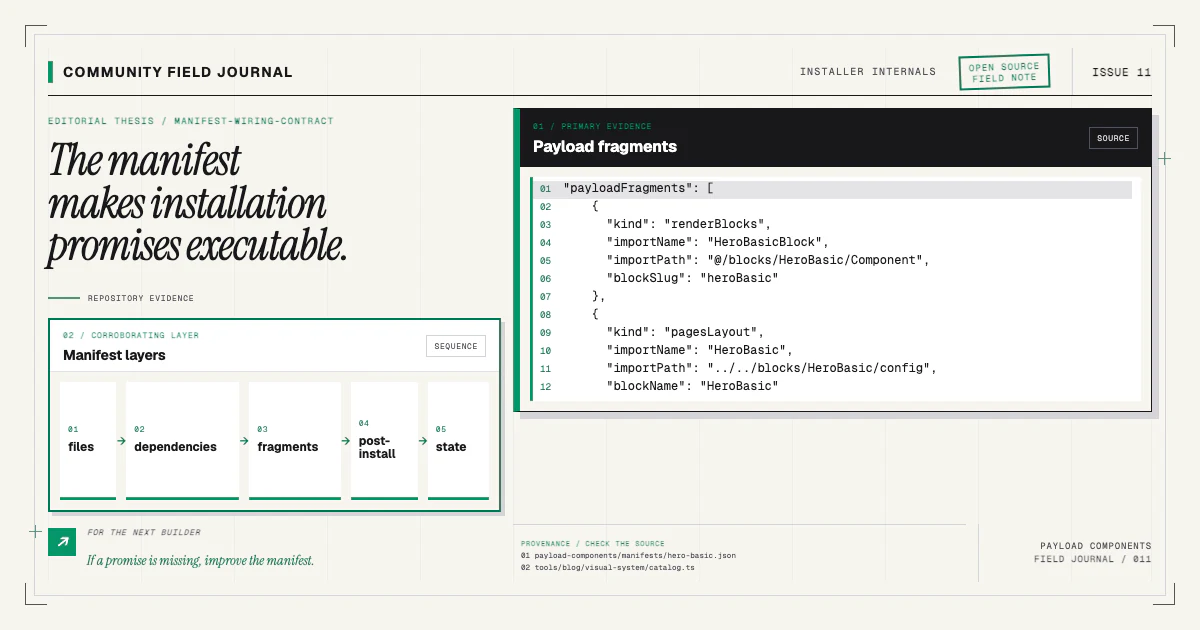
registry-buildcreates a temporary public registry item when owned files are missing.registry-adddelivers missing source and public registry dependencies.dependency-installadds missing manifest dependencies.fragment-applyapplies scoped collection and renderer fragments.post-installruns the declared type and import-map generators.
State is separate from those stages: the CLI records a partial attempt before execution, records a
failed stage and message if an operation throws, and records installed after all required work
succeeds.
The earlier installer anatomy follows those stages. The important point here is that none replaces file ownership. The command still leaves a normal diff. It simply includes the host edits required to make those files participate in the application.
Why direct shadcn add cannot finish Payload wiring
The shadcn registry specification describes files, dependencies, and public registry dependencies.
It does not describe “find my Pages collection, add this imported block to its layout field, then
find my RenderBlocks map and add a matching component.” Those are Payload- and starter-specific
operations.
A registry item can include a prewritten file only when it owns the whole file. Replacing a consumer's collection config would destroy local fields, hooks, access rules, and imports. Shipping a second Pages collection would not make the application's existing route use it. The safe operation is a small patch against an understood host shape.
That is the role of the Payload Components manifest. It names owned files, required dependencies, scoped fragments, post-install scripts, and recovery information. It supplements the public registry item; it does not invent a competing distribution format.
Reviewable wiring is better than invisible magic
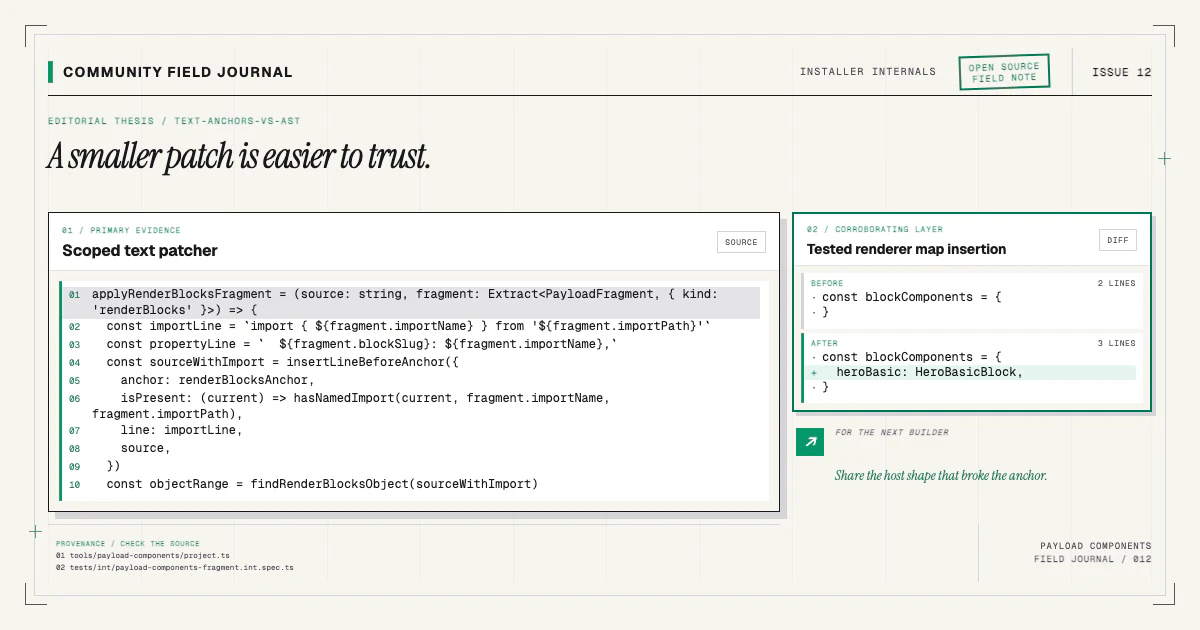
An installer that edits source should make the smallest explainable change. In this repository,
fragment patching uses text anchors such as const blockComponents = { and name: 'layout'. Before
insertion, it checks whether the exact import or registration already exists. If the supported
anchor is missing, the command fails with context rather than rewriting the file broadly.
The result should be boring:
+ import { HeroBasic } from '@/blocks/HeroBasic/config'

  blocks: [
+   HeroBasic,
  ]
The renderer receives the same kind of narrow import and map entry. You can inspect the diff, change it, or revert it with ordinary git tools. Automation earns trust by making review easier, not by hiding the integration.
Generation is part of installation
Payload config is executable schema. Adding a block changes the generated document interfaces, so the consumer's type generator needs to run after registration. Admin custom component paths are resolved through a generated import map, so that command needs to run after files land.
These outputs belong to the consumer because they describe the whole application, not one registry
item. The component cannot ship a valid universal payload-types.ts; it would omit every local
collection and field. The installer invokes the repository's scripts so Payload sees the complete
config.
The detailed types and import-map guide covers the two pipelines and their distinct failure symptoms.
State turns a script into a recoverable installer
Suppose file delivery succeeds and dependency installation fails. Without state, a rerun must guess
whether copied files are user-owned, whether patches landed, and which work is safe to repeat. With
.payload-components/state.json, the command records the manifest version, registry item, target,
status, attempt and install timestamps, last error, and patched host files. In the file these fields
are manifestVersion, registryItemName, targetId, status, installedAt, lastAttemptAt,
lastError, patchedFiles, and fileHashes. The last field captures normalized hashes of the
source that actually landed after a successful install, so later lifecycle commands can separate
registry evolution from consumer edits.
The state file does not replace inspection of the repository. It gives the installer a consistent
recovery vocabulary. payload-components doctor can report a partial install and compare declared
expectations with the filesystem. After you fix the dependency error, rerunning add rechecks the
repository, skips work whose result is already valid, and continues toward the same final state.
Idempotency matters on successful installs too. A second run should not duplicate an import, array entry, map key, dependency, or state record. “Already installed” is a useful result, not an error.
Choose the command by the promise you need
Use direct shadcn add when you want file delivery and are prepared to integrate the Payload source
yourself. The component documentation includes the exact public registry URL. This is useful when a
repository's architecture differs from the supported starter or when you want to study the files
before choosing host edits.
Use the companion CLI when the repository matches the documented detection and you want the full wiring contract:
npx payload-components add hero-basicIn both cases, work on a branch and read the diff. The difference is not “open source versus installer”; both routes deliver open source. The difference is whether the command promises files or a working Payload integration.
If your repository has a common RenderBlocks or collection shape the installer does not recognize, share a minimal fixture and expected diff. That contribution is more useful than a one-off workaround because it can become detection logic, an anchored patch, documentation, and an idempotency test for everyone using the installation path.